iPhone Not Charging? 10 Things to Check
Ordered from free fixes to real repairs, so you only pay when hardware is actually at fault.
Work through these in order
- Try a different cable. Lightning and USB-C cables fail at the ends. A frayed or bent cable is the single most common cause.
- Try a different adapter and a different wall socket. Cheap adapters die quietly. Test with one you know works on another phone.
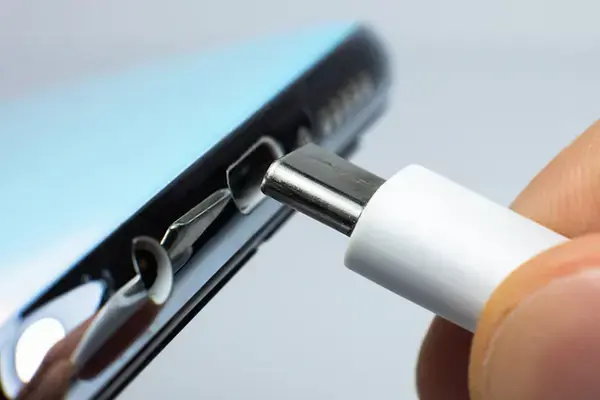
- Look into the port with a torch. Pocket lint packs down at the bottom and stops the cable seating. If the cable feels loose or only works at an angle, this is it.
- Clean the port gently with a wooden or plastic toothpick, never metal, scraping along the back wall. Do not use compressed air at close range.
- Check for a “Liquid Detected” message. If the phone is dry, corrosion or debris on the pins is triggering it; cleaning often fixes it. If the phone was recently wet, read our wet iPhone guide and do not force charging.
- Force restart. Press and release volume up, press and release volume down, then hold the side button until the Apple logo. A crashed charging process is not rare.
- Leave it on a charger for 30 minutes. A fully drained battery can take that long to show any sign of life.
- Try wireless charging if the phone supports it. If wireless works and the cable does not, the port or its flex is the fault, and it is a quick repair.
- Check Settings → Battery → Battery Health. A battery at “Service” can refuse to charge or show 1% forever. That is a battery replacement.
- If nothing above helps, and especially if the phone gets warm while “charging” or was dropped or wet, the fault is likely the charging IC (Tristar or Hydra) on the logic board. That is a board-level repair, quoted after diagnosis.
What each result means
Steps 1 to 7 cost nothing and fix roughly half the “not charging” phones we see. Step 8 tells you whether the port assembly needs replacing, which takes 30 to 60 minutes and starts from Rs 1,500. Step 9 points to the battery. Step 10 is the only expensive path, and it is the least common one. Our free diagnosis runs the same sequence with a known-good cable, adapter and battery, so you only ever pay for the actual fault.
Prevent it
Keep the port clean: a quick check with a torch every few months. Replace cables when the outer sleeve splits. Avoid charging with the phone in a sandy or dusty pocket. Use a case with a port cover if you work outdoors. And never keep charging a phone that shows Liquid Detected: the pins corrode in days.